
One of my favourite puddings ever is Fruit Crumble. It doesn't really matter that much what you pair the Crumble with (although my absolute favourite is apple and raspberry), it just needs as much flakey crumble as possible on the top (generally two to three times the amount regular recipes would suggest!) I always think of it being an autumnal-going-into-winter pud but I have a recipe for you that transforms it into a light, beautifully fresh cake that brings with it the sweetness and summery fruits that are just coming into season.

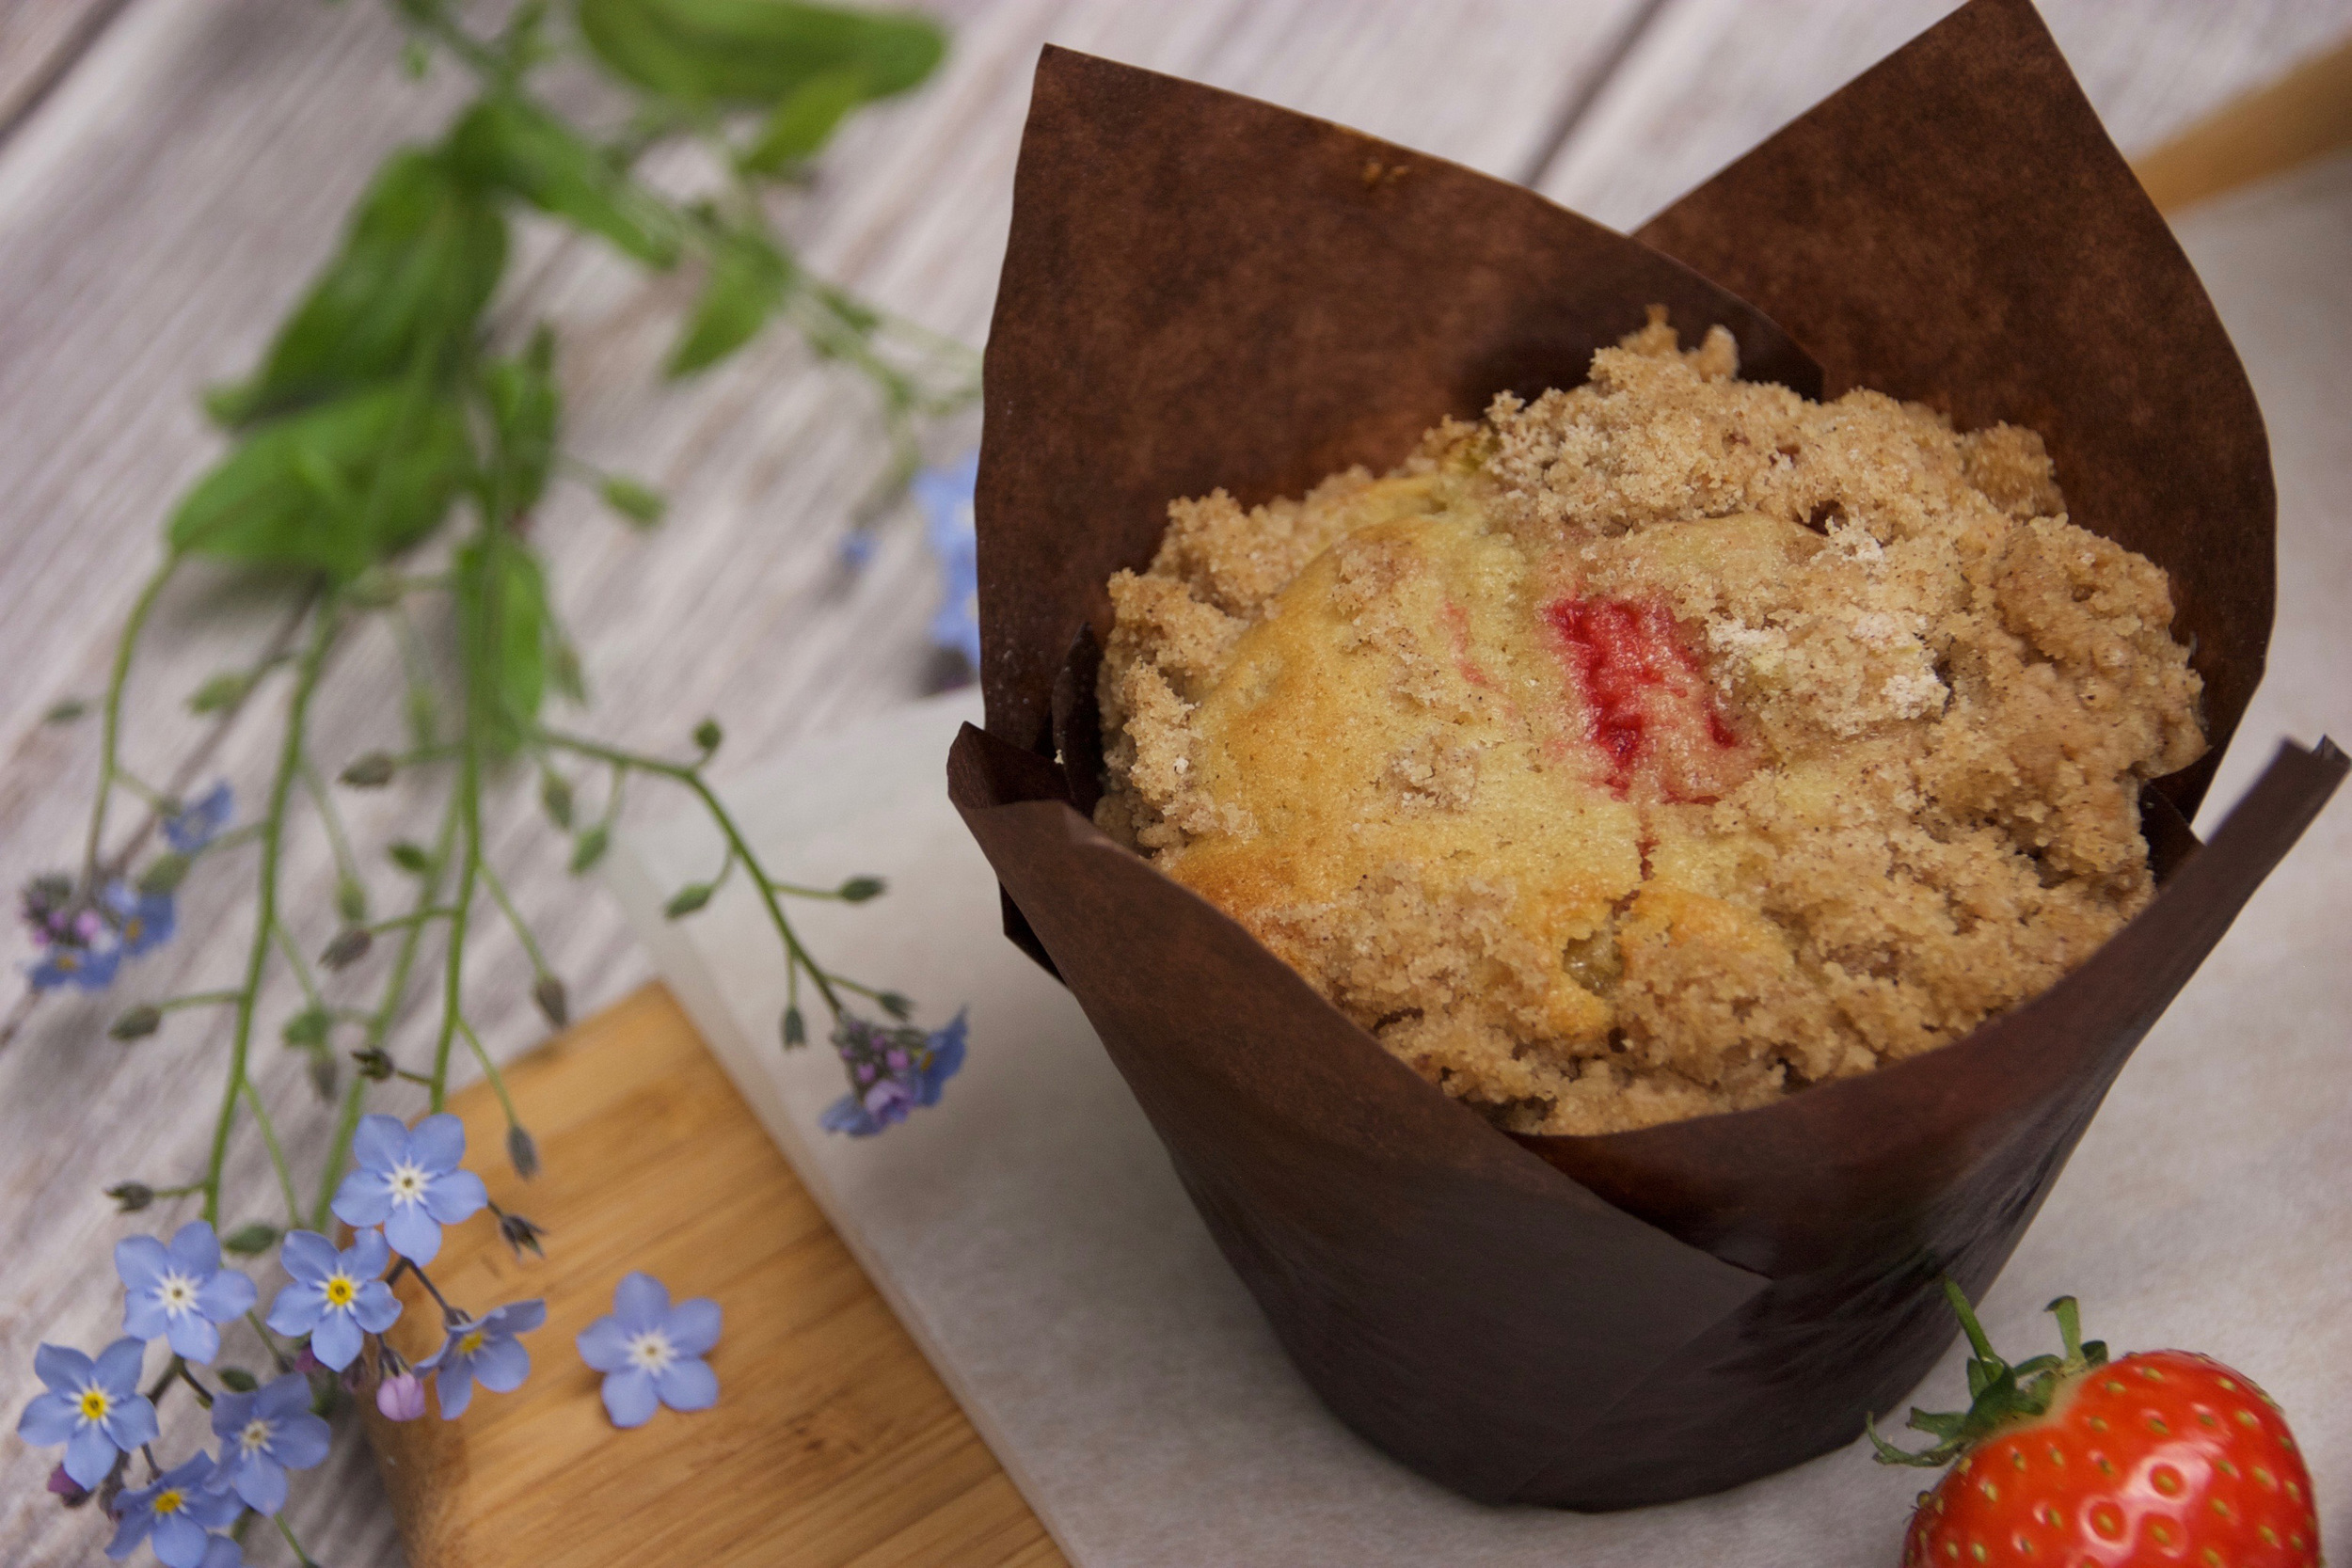
These Strawberry and Rhubarb Crumble Muffins are simply divine. Strawberries are so sweet at the moment and they add freshness and juice to the final cakes. The cakes themselves have a delicate crumb and with the moistness of the strawberries they are quite fragile. I tried making them straight in a muffin tin, but having a wrap around the outside really helps hold them together, although you could use cupcake papers instead. The idea for this came from my Apple and Rhubarb Crumble Cake which I was going to make the other day and then I decided I'd love to put some fruity strawberries into it instead. They are are stirred through the batter and then topped with rhubarb and finally the crumble.
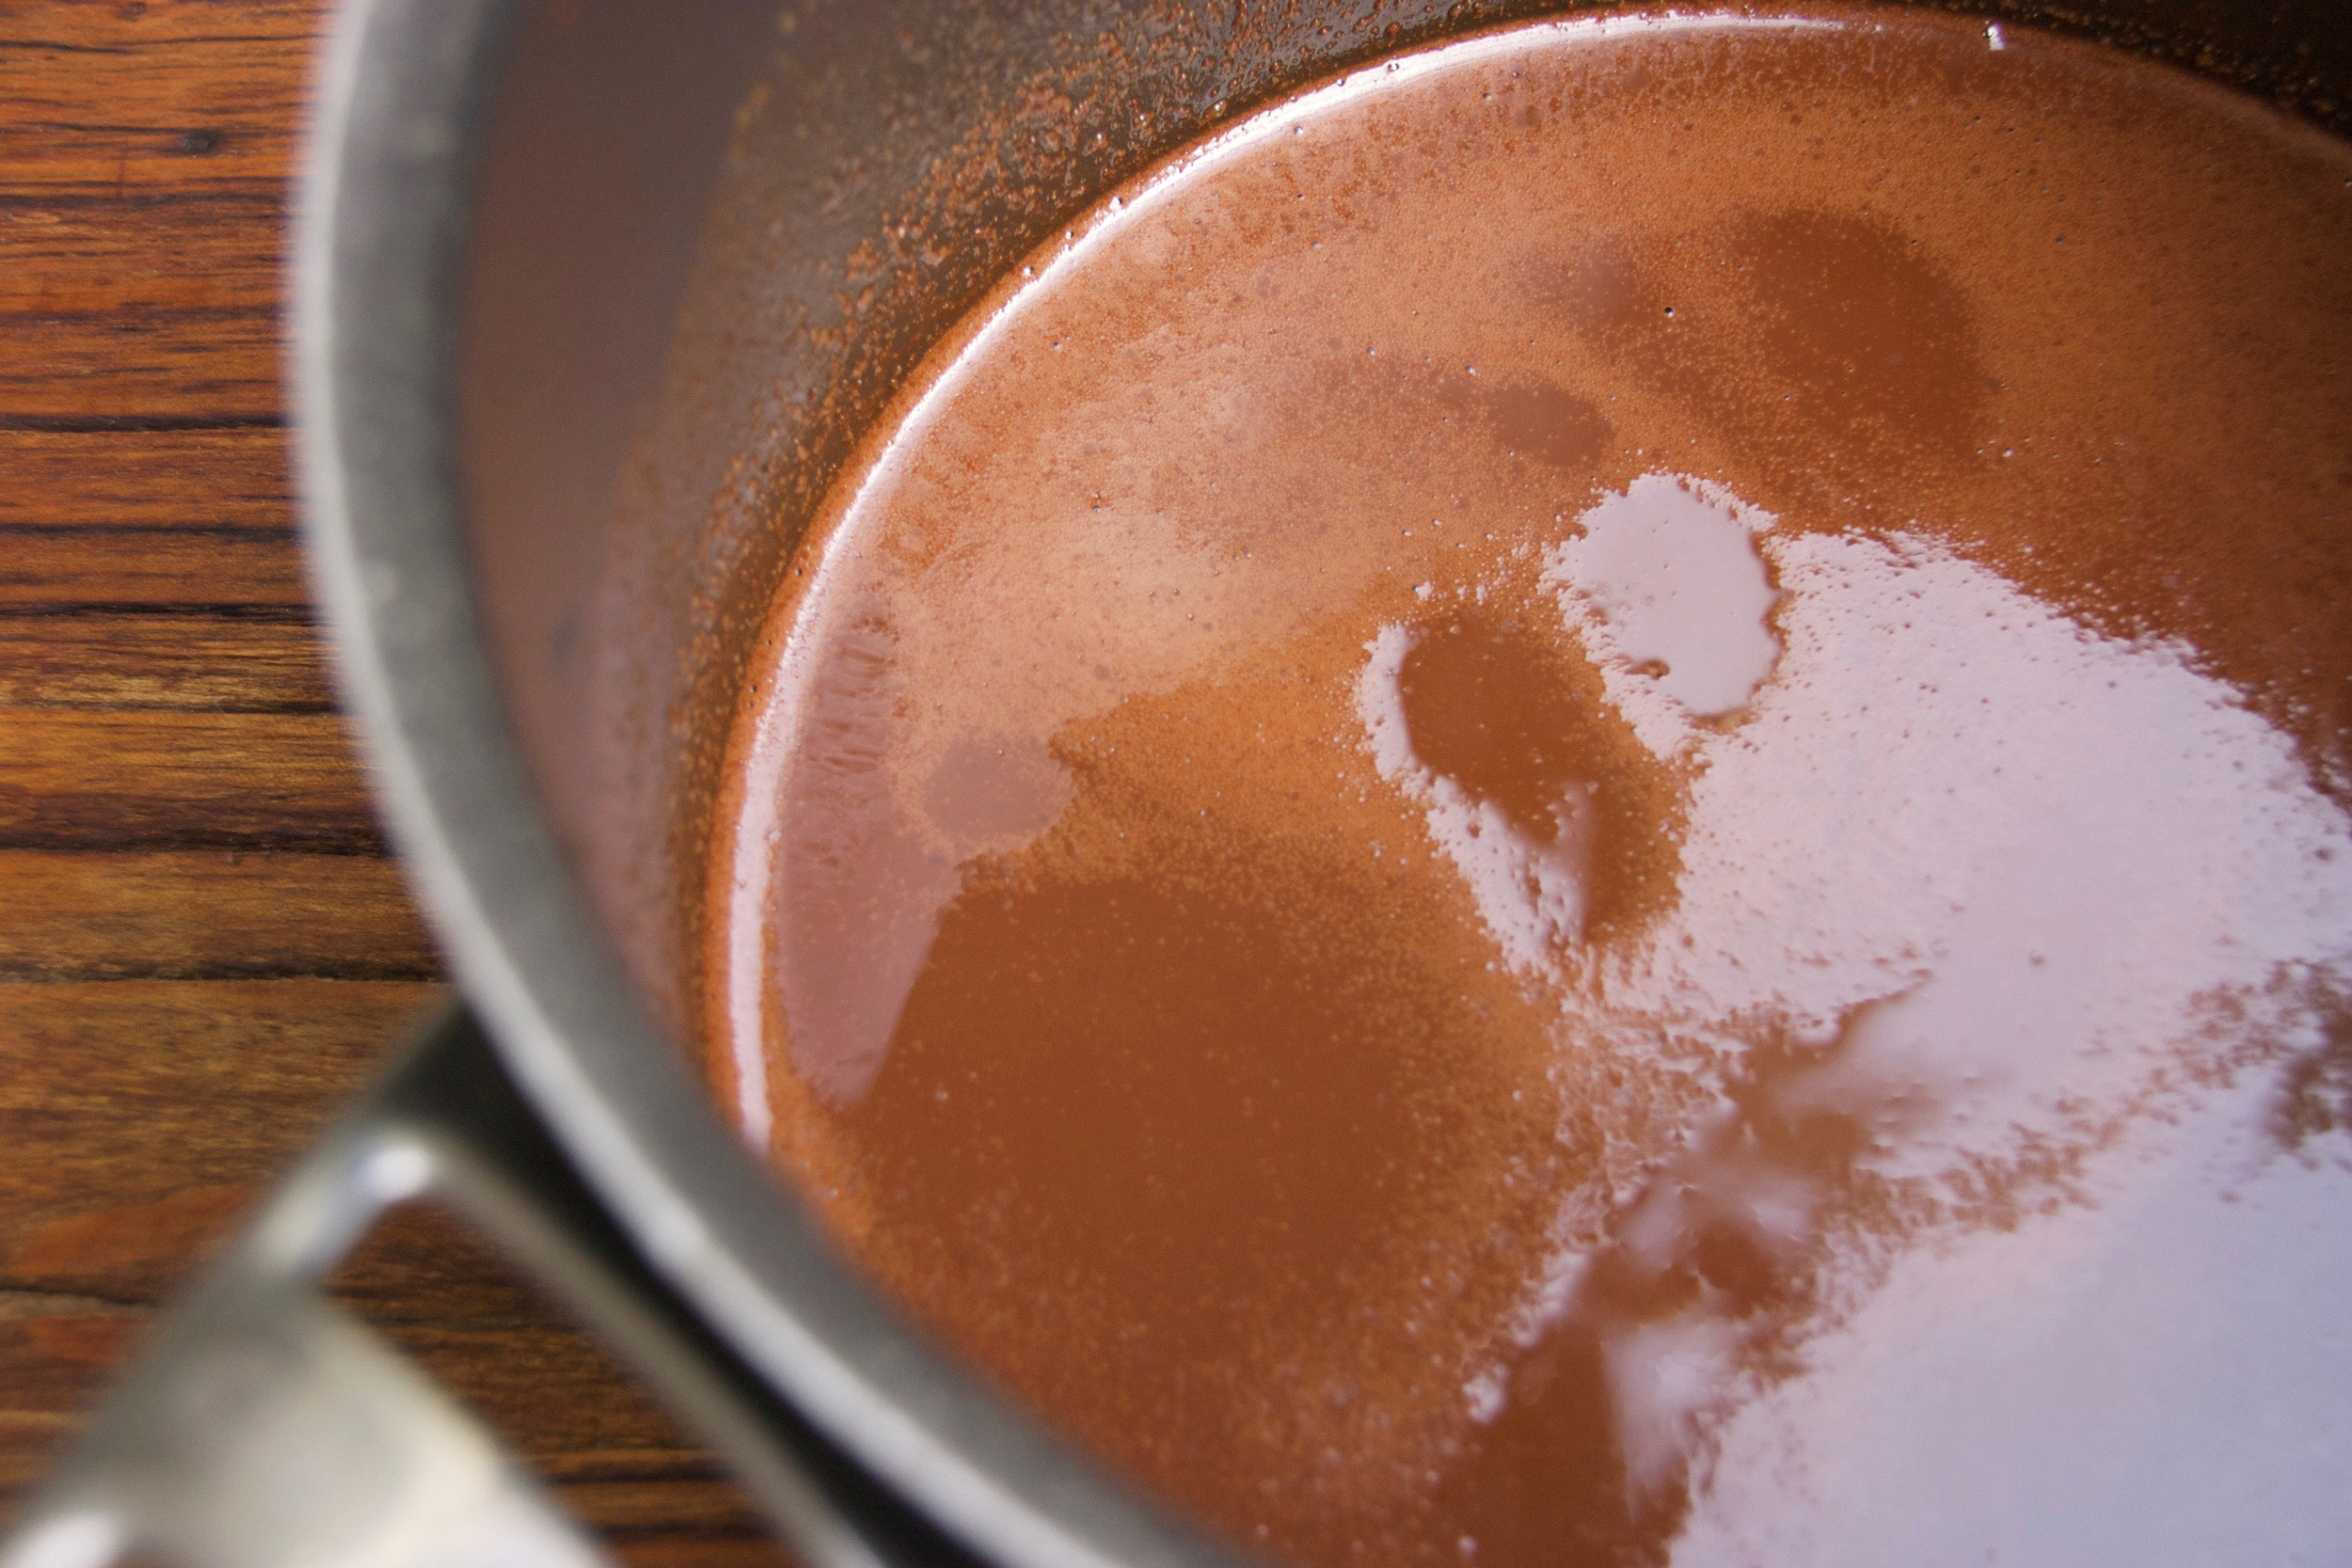
The hardest part of making these muffins is the chopping! I suggest cutting up the fruit into very small pieces, particularly the rhubarb. And I always start making these by doing this job first. My recommendation is around four large strawberries for six muffins and one stick of rhubarb. Then I make them crumble -- you can either rub the butter into the flour and sugar with your fingers or blitz them in the food processor. The muffin batter itself is very simple. We cream the butter and brown sugar, then add the eggs and vanilla. Once they're all incorporated, sift the flour over the top, mix thoroughly and then finally stir through the milk and strawberries.

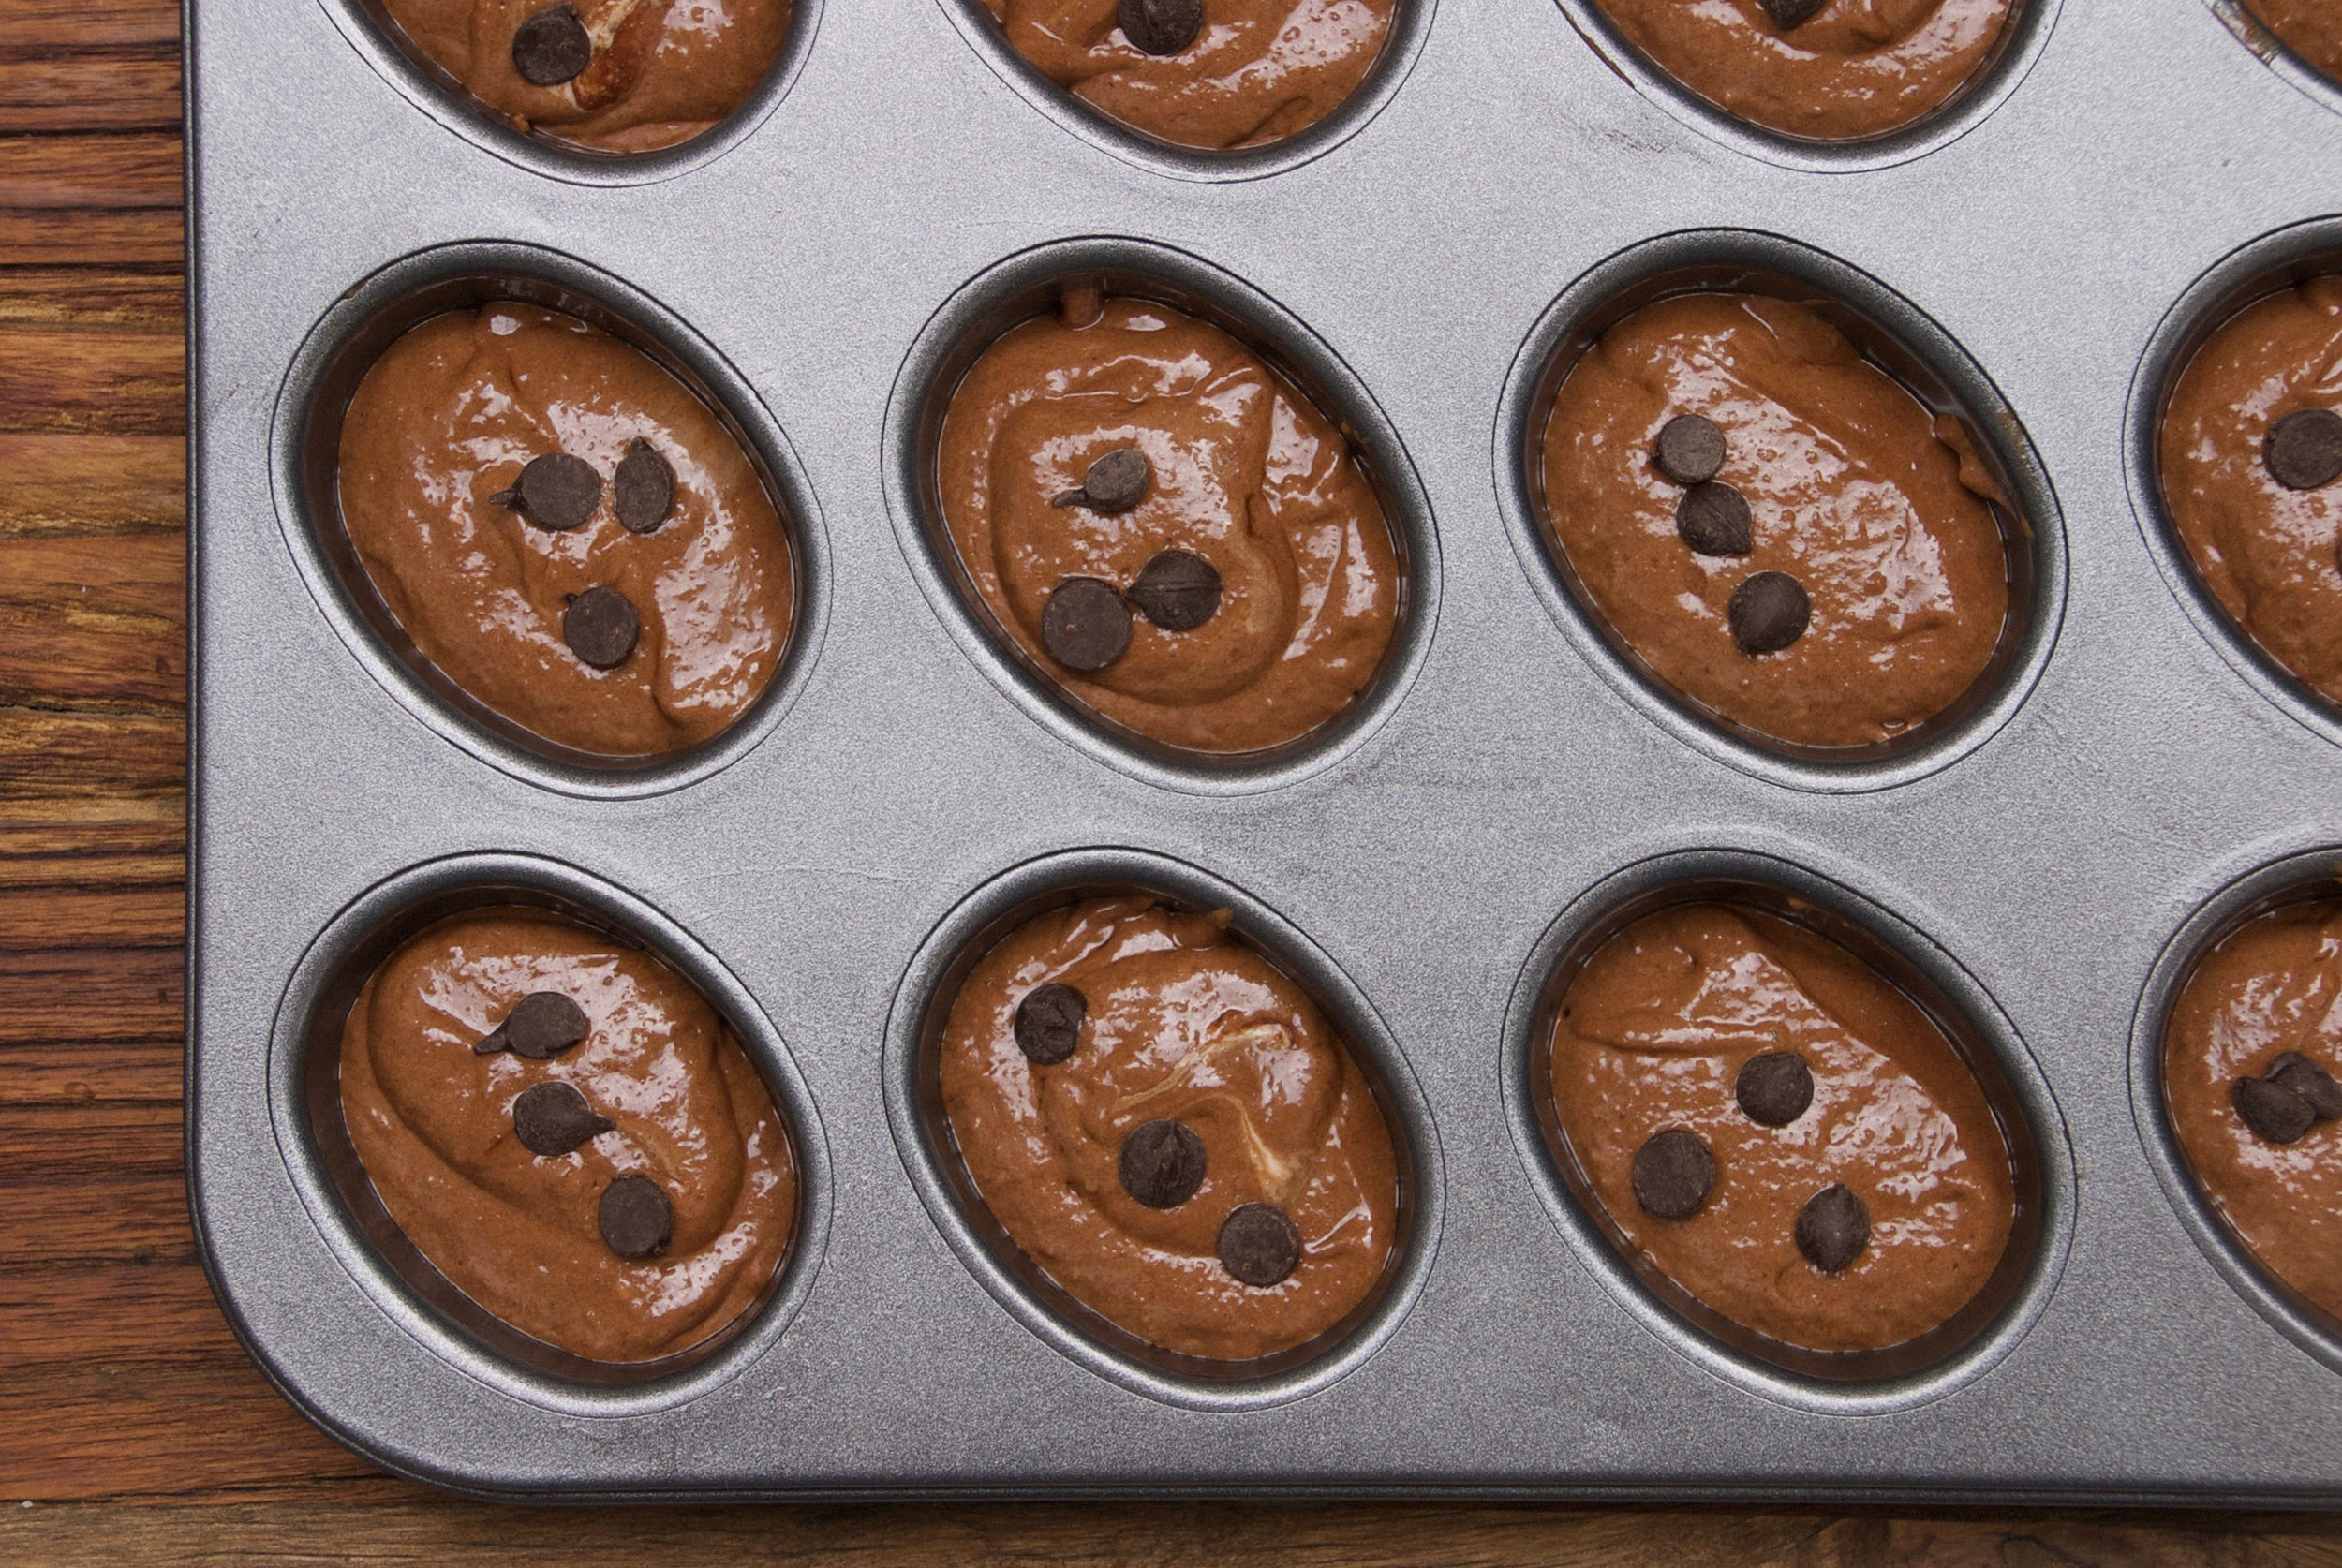
I use an ice cream scoop to fill my muffin cases and once the mixture is divided evenly amongst the cases, sprinkle the tops with rhubarb and then finally the crumble (and I like to completely cover the top of the muffin with the crumble layer, so you can't see any fruit peeking out). They should be baked for around 25 minutes and you can check them as you would with any other cake, by checking a skewer inserted in the middle comes out clean.

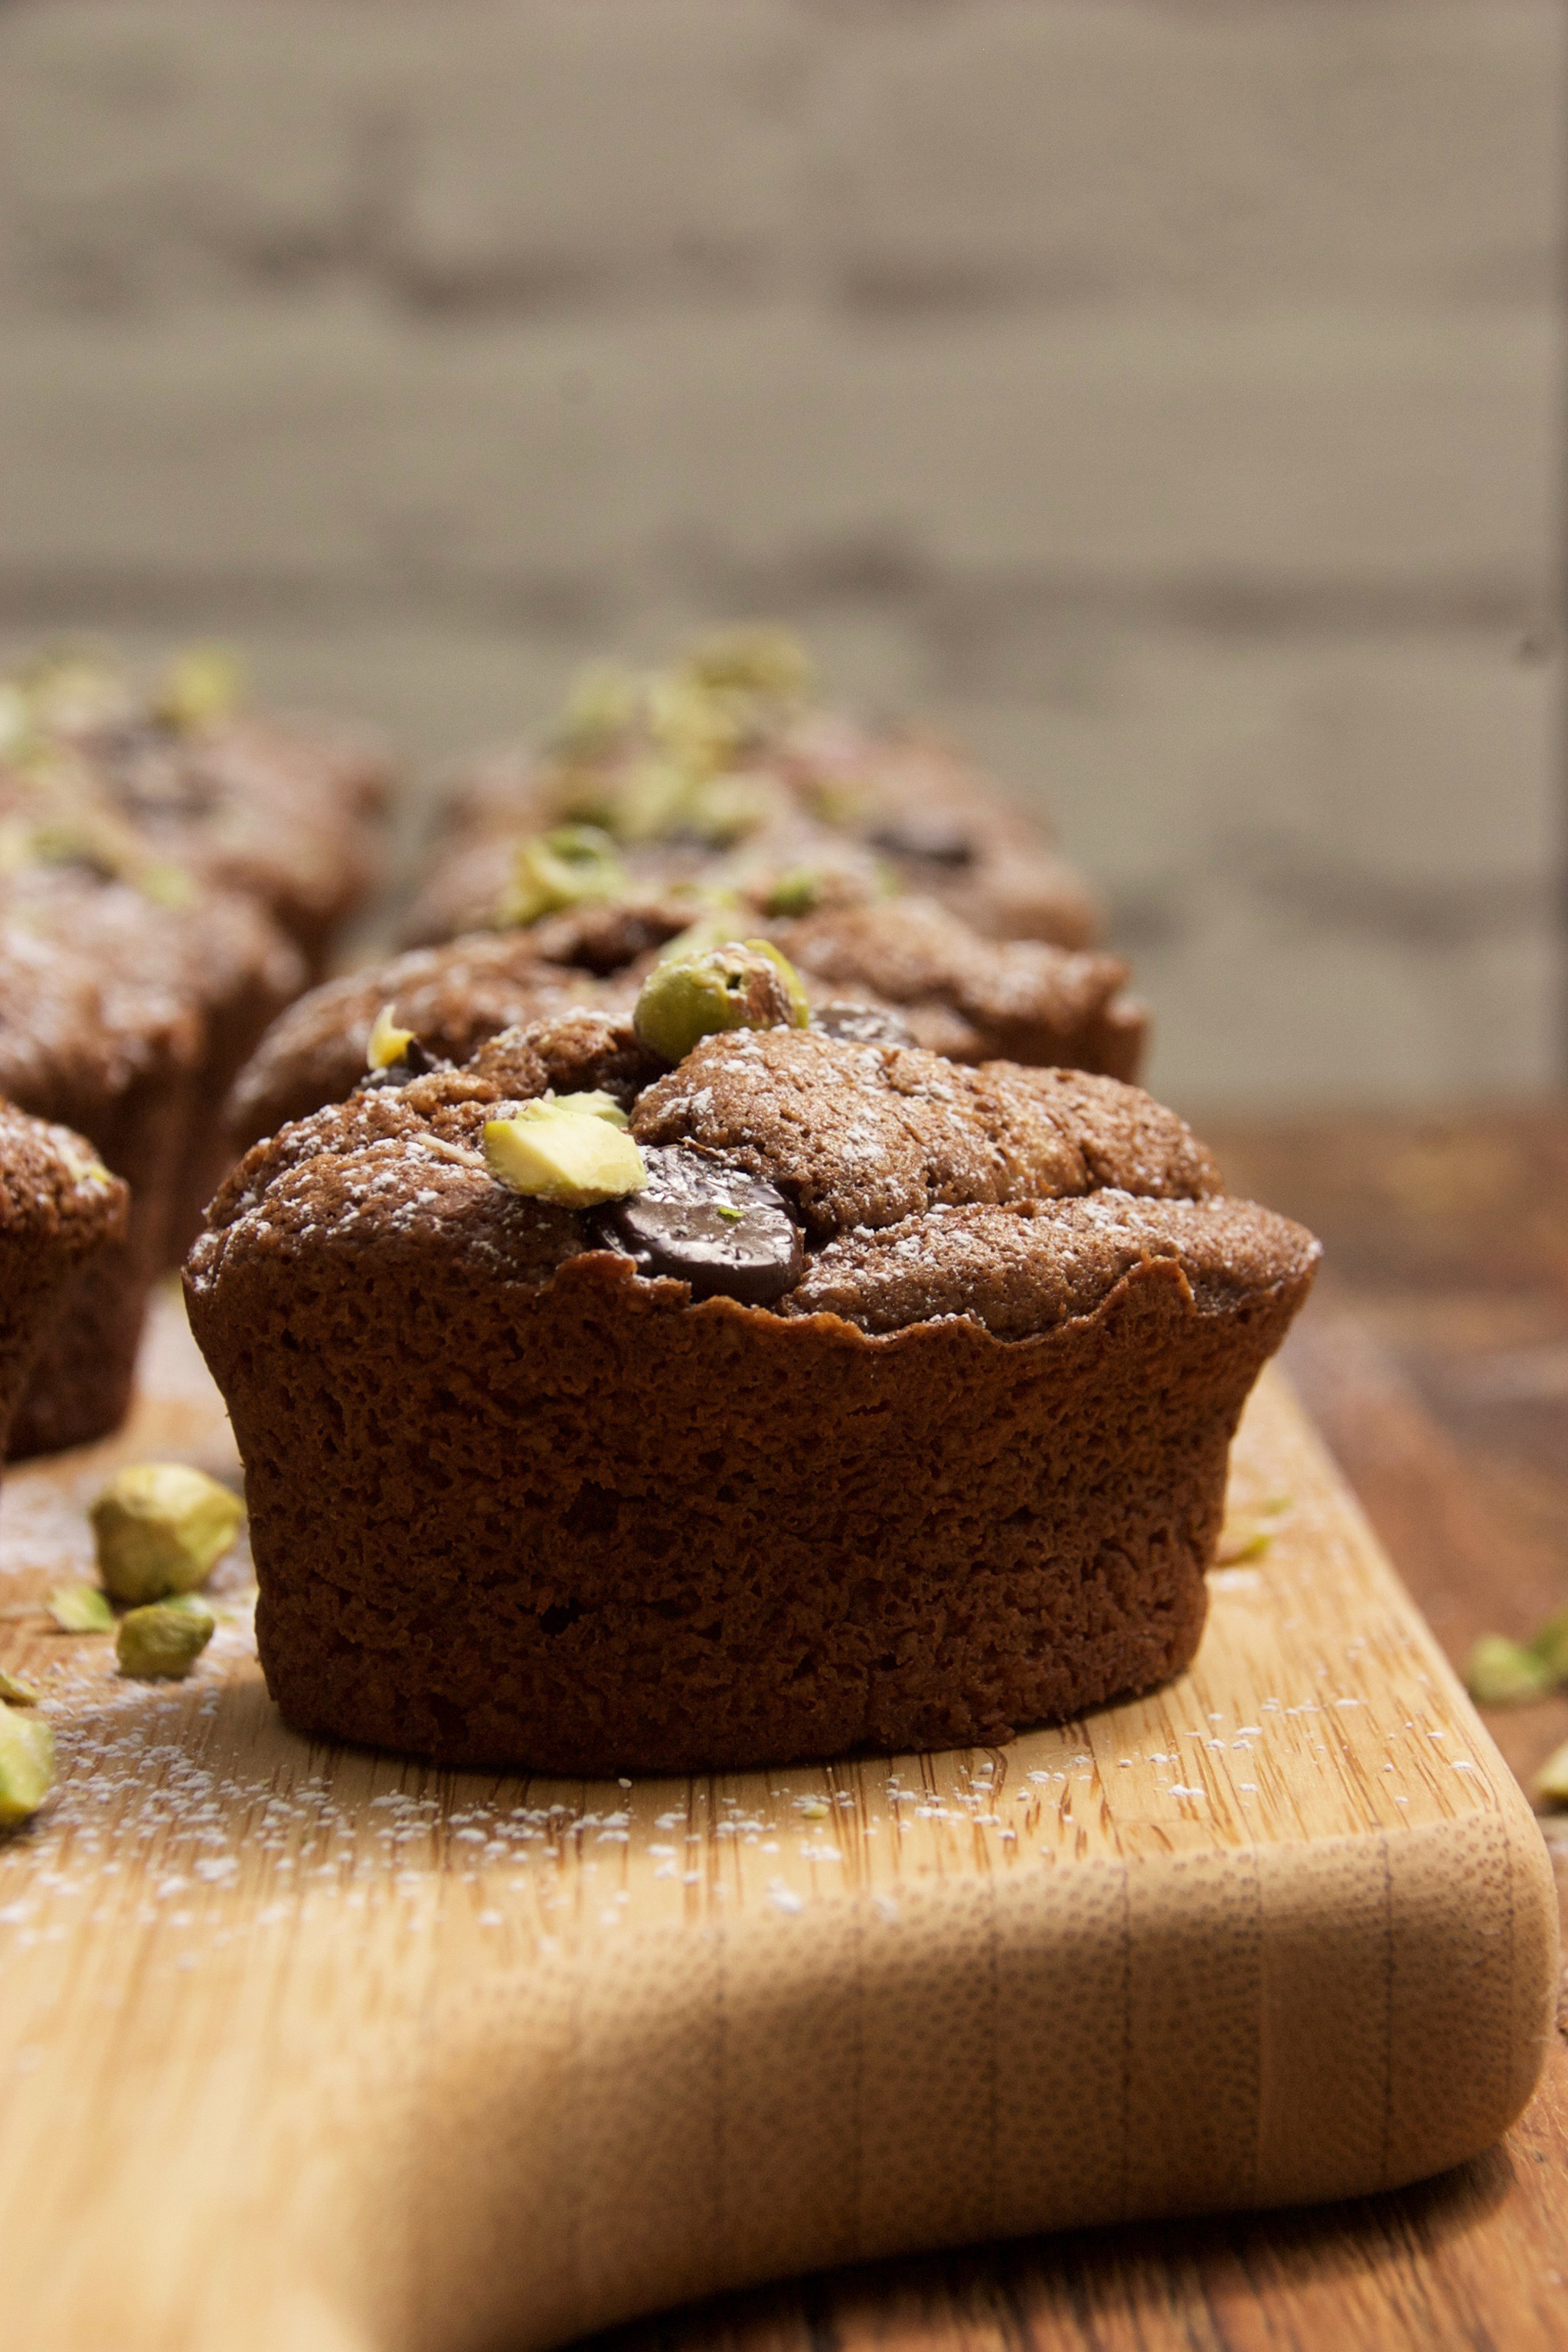
Once they're baked and out of oven, we leave them in the tin for around 10 minutes and then lift them out carefully to cool on a rack. I recommend leaving them in their wrappers for stability -- they do firm up as they get cooler but they are at their most delicious warm from the oven.
These muffins are perfect for coffee mornings, lunch or afternoon tea. They do have a sweet sugary hit from the crumble which might seem a bit over-indulgent for breakfast, but just amazing for brunch!
You could kid yourself that the fruit in them makes them healthy, but when something tastes this good, you should just enjoy it for what it is :)
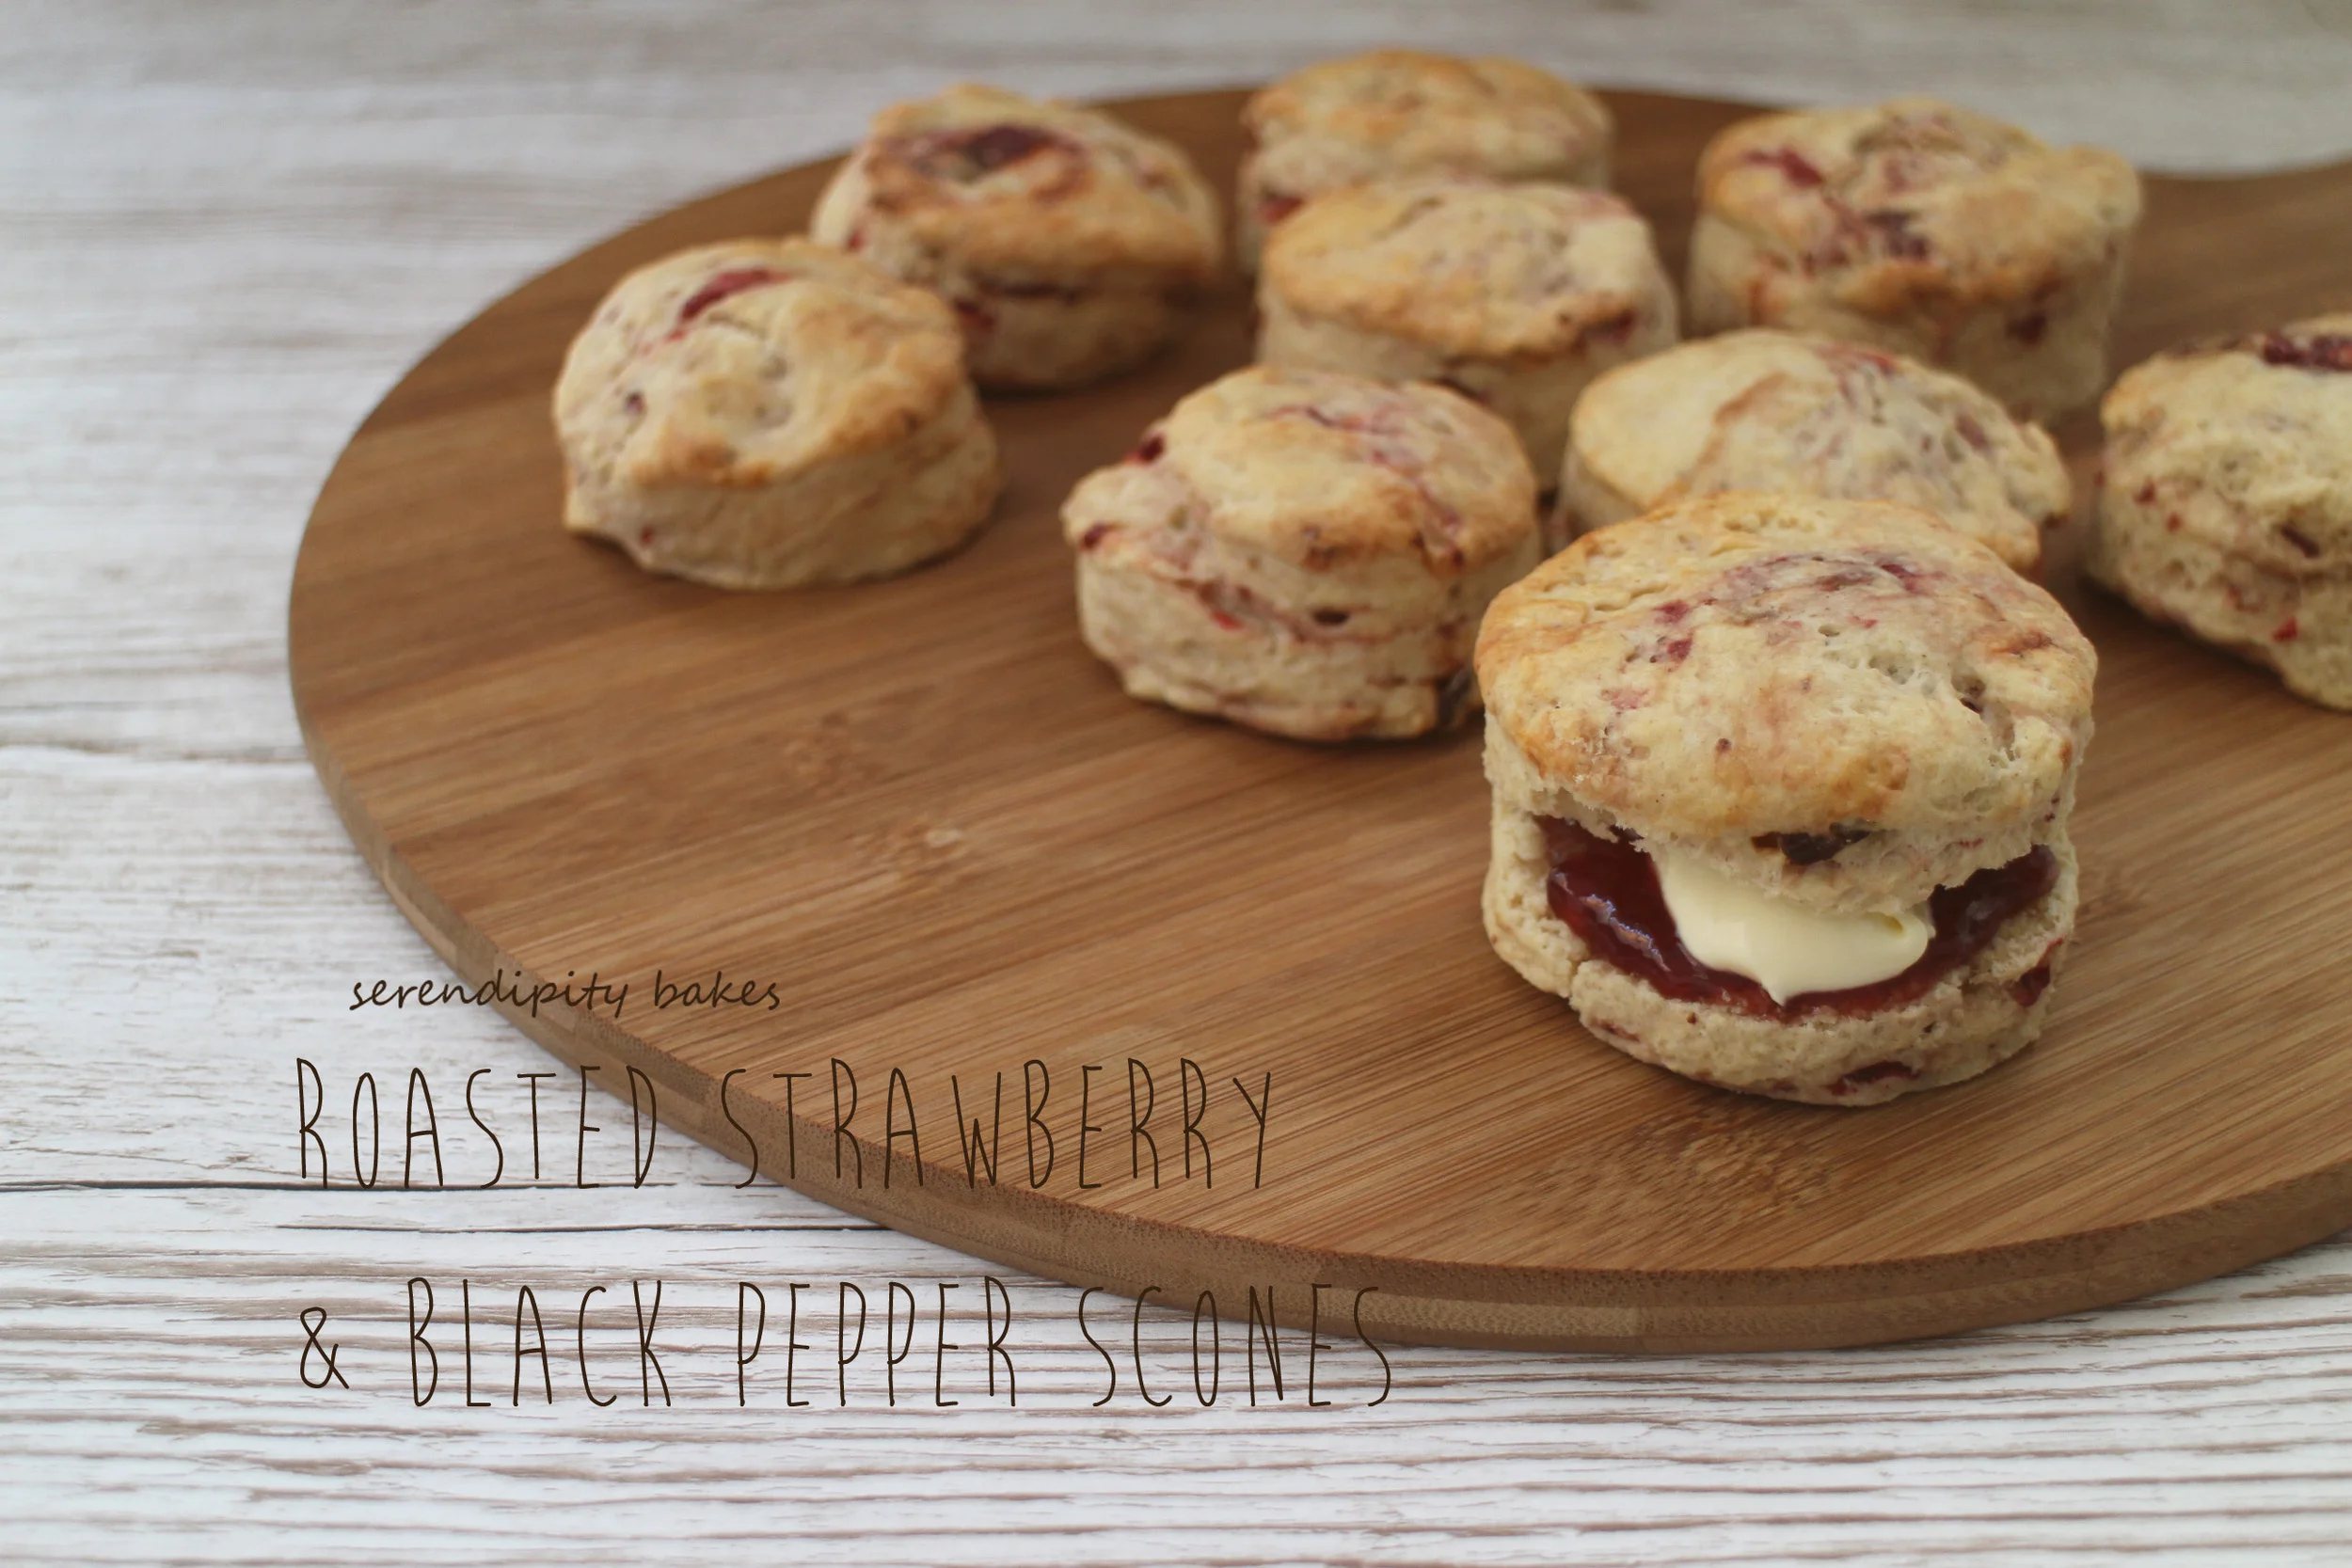
Strawberry and Rhubarb Crumble Muffins
Makes 6 muffins

Crumble Ingredients
- 50G SELF-RAISING FLOUR
- 40G SOFT BROWN SUGAR
- 1/2 TSP CINNAMON
- PINCH OF SALT
- 40G BUTTER
Muffin Ingredients
- 100G BUTTER
- 100G SOFT BROWN SUGAR
- 2 EGGS
- 2 TSP VANILLA ESSENCE
- 175G SELF-RAISING FLOUR
- 2 TBSP MILK
- 4 LARGE STRAWBERRIES
- 1 STICK CHOPPED RHUBARB
Method
- Start by putting all the crumble ingredients in a bowl and rub the mixture with your fingertips until a fine crumble has formed and set this aside
- Preheat the oven to 170 degrees (fan)
- Line your muffin tin with paper cases
- Chop the rhubarb into small pieces and set aside
- Chop the strawberries into small pieces and set aside
- Cream the butter and sugar
- Beat in the eggs and vanilla
- Sift in the flour
- Fold in the strawberries and milk
- Spoon the batter into the prepared muffin wrappers
- Sprinkle the rhubarb over the top
- Scatter the crumble over the top, ensuring that no fruit can be seen
- Bake them for around 20-25 mins (you can test the muffin centres with a skewer to ensure they're cooked)
- Enjoy them warm from the oven for the best taste experience!
- If you're keeping some for another day, store them in an airtight container -- I always like to freshen up the muffins with around 10-15 seconds in the microwave :)