• About
  • Blog
  • Recipe Index
  • Your Celebrations
  • Contact Me
Menu

Serendipity Bakes

Street Address
City, State, Zip
Phone Number

Your Custom Text Here

Serendipity Bakes

  • About
  • Blog
  • Recipe Index
  • Your Celebrations
  • Contact Me

Lime & Green Tea Madeleines

October 20, 2015 Nicola King

I love when my friends recommend recipes to me. This last week has been a little topsy turvy with a big corporate baking project, making the Jurassic World Launch Cookies for Universal's head office in London (170 boxes of 3 vanilla and chocolate cookies was quite a challenge - photo below!) Whilst I was knee-deep in flour and sugarpaste and covered in airbrush paint, a friend popped a recipe through to me she thought I could try.

This fabulous recipe for Lime & Green Tea Madeleines with Vanilla & Black Pepper Cream. Wow, what flavour combinations! I think the recipe came from a magazine but is from Laura Santtatini's new book, At Home With Umami. It combines zesty lime with green tea in the madeleines and then pairs them with a lovely lightly whipped cream speckled with vanilla seeds and pepper.

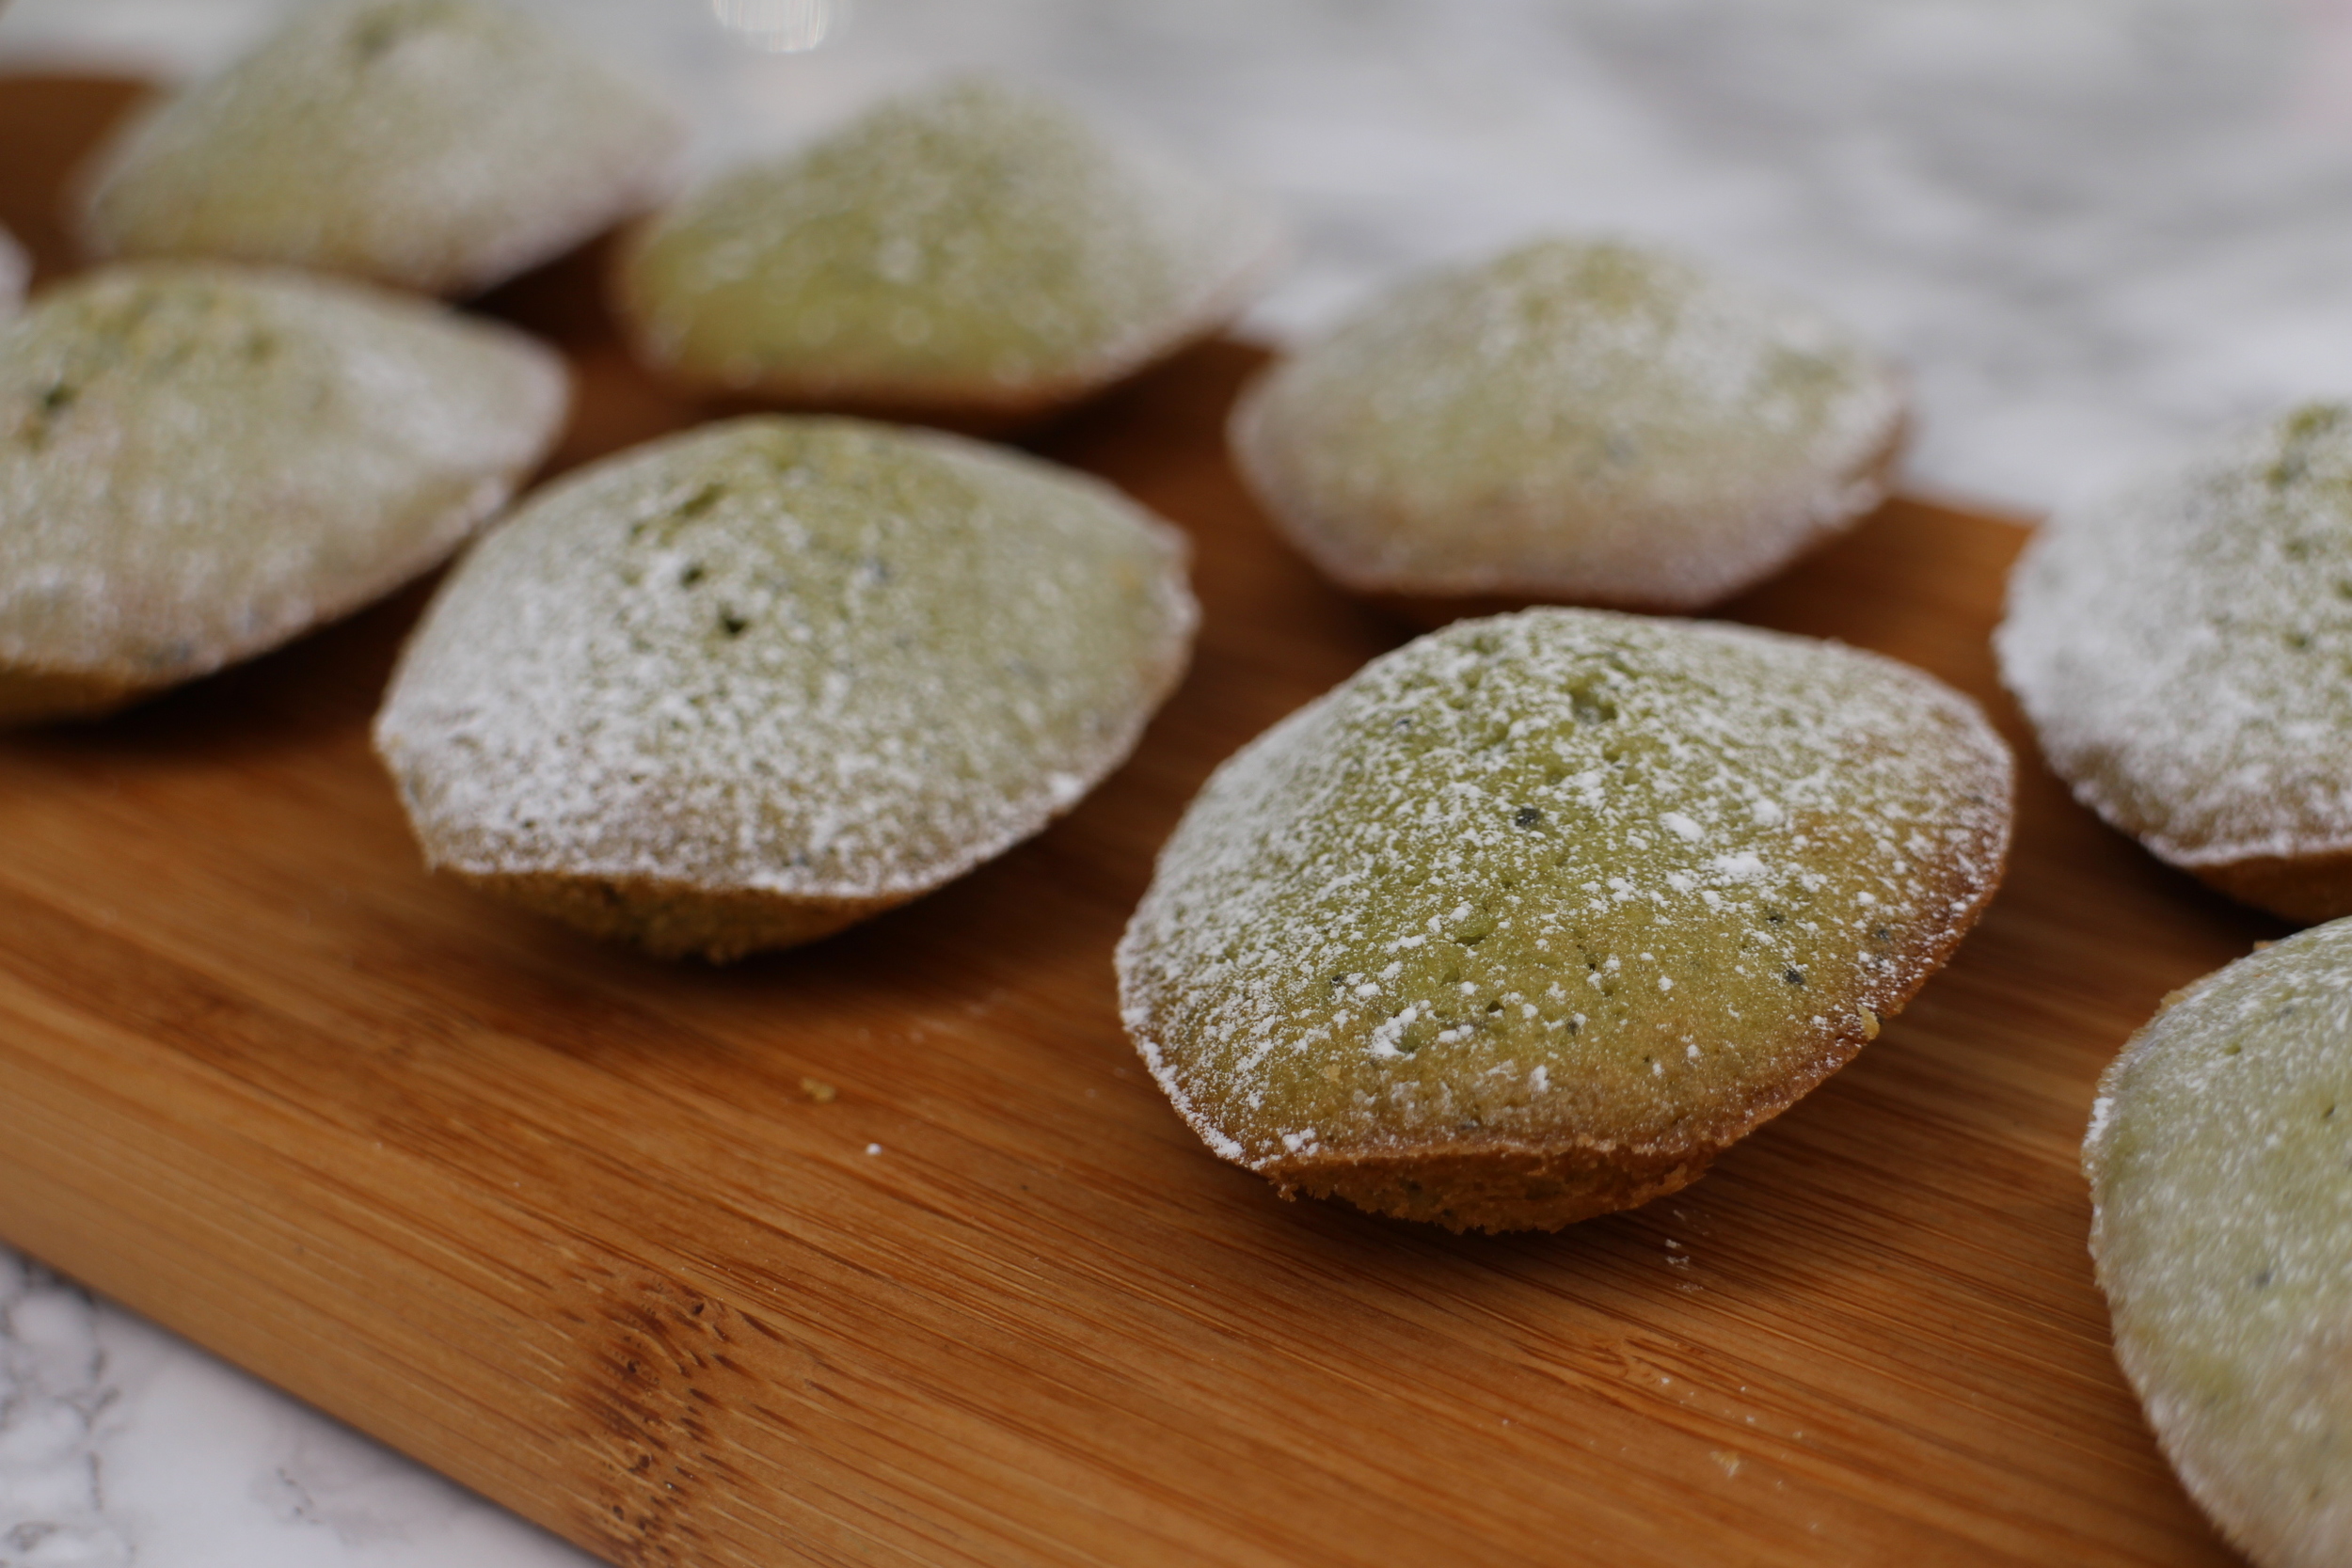
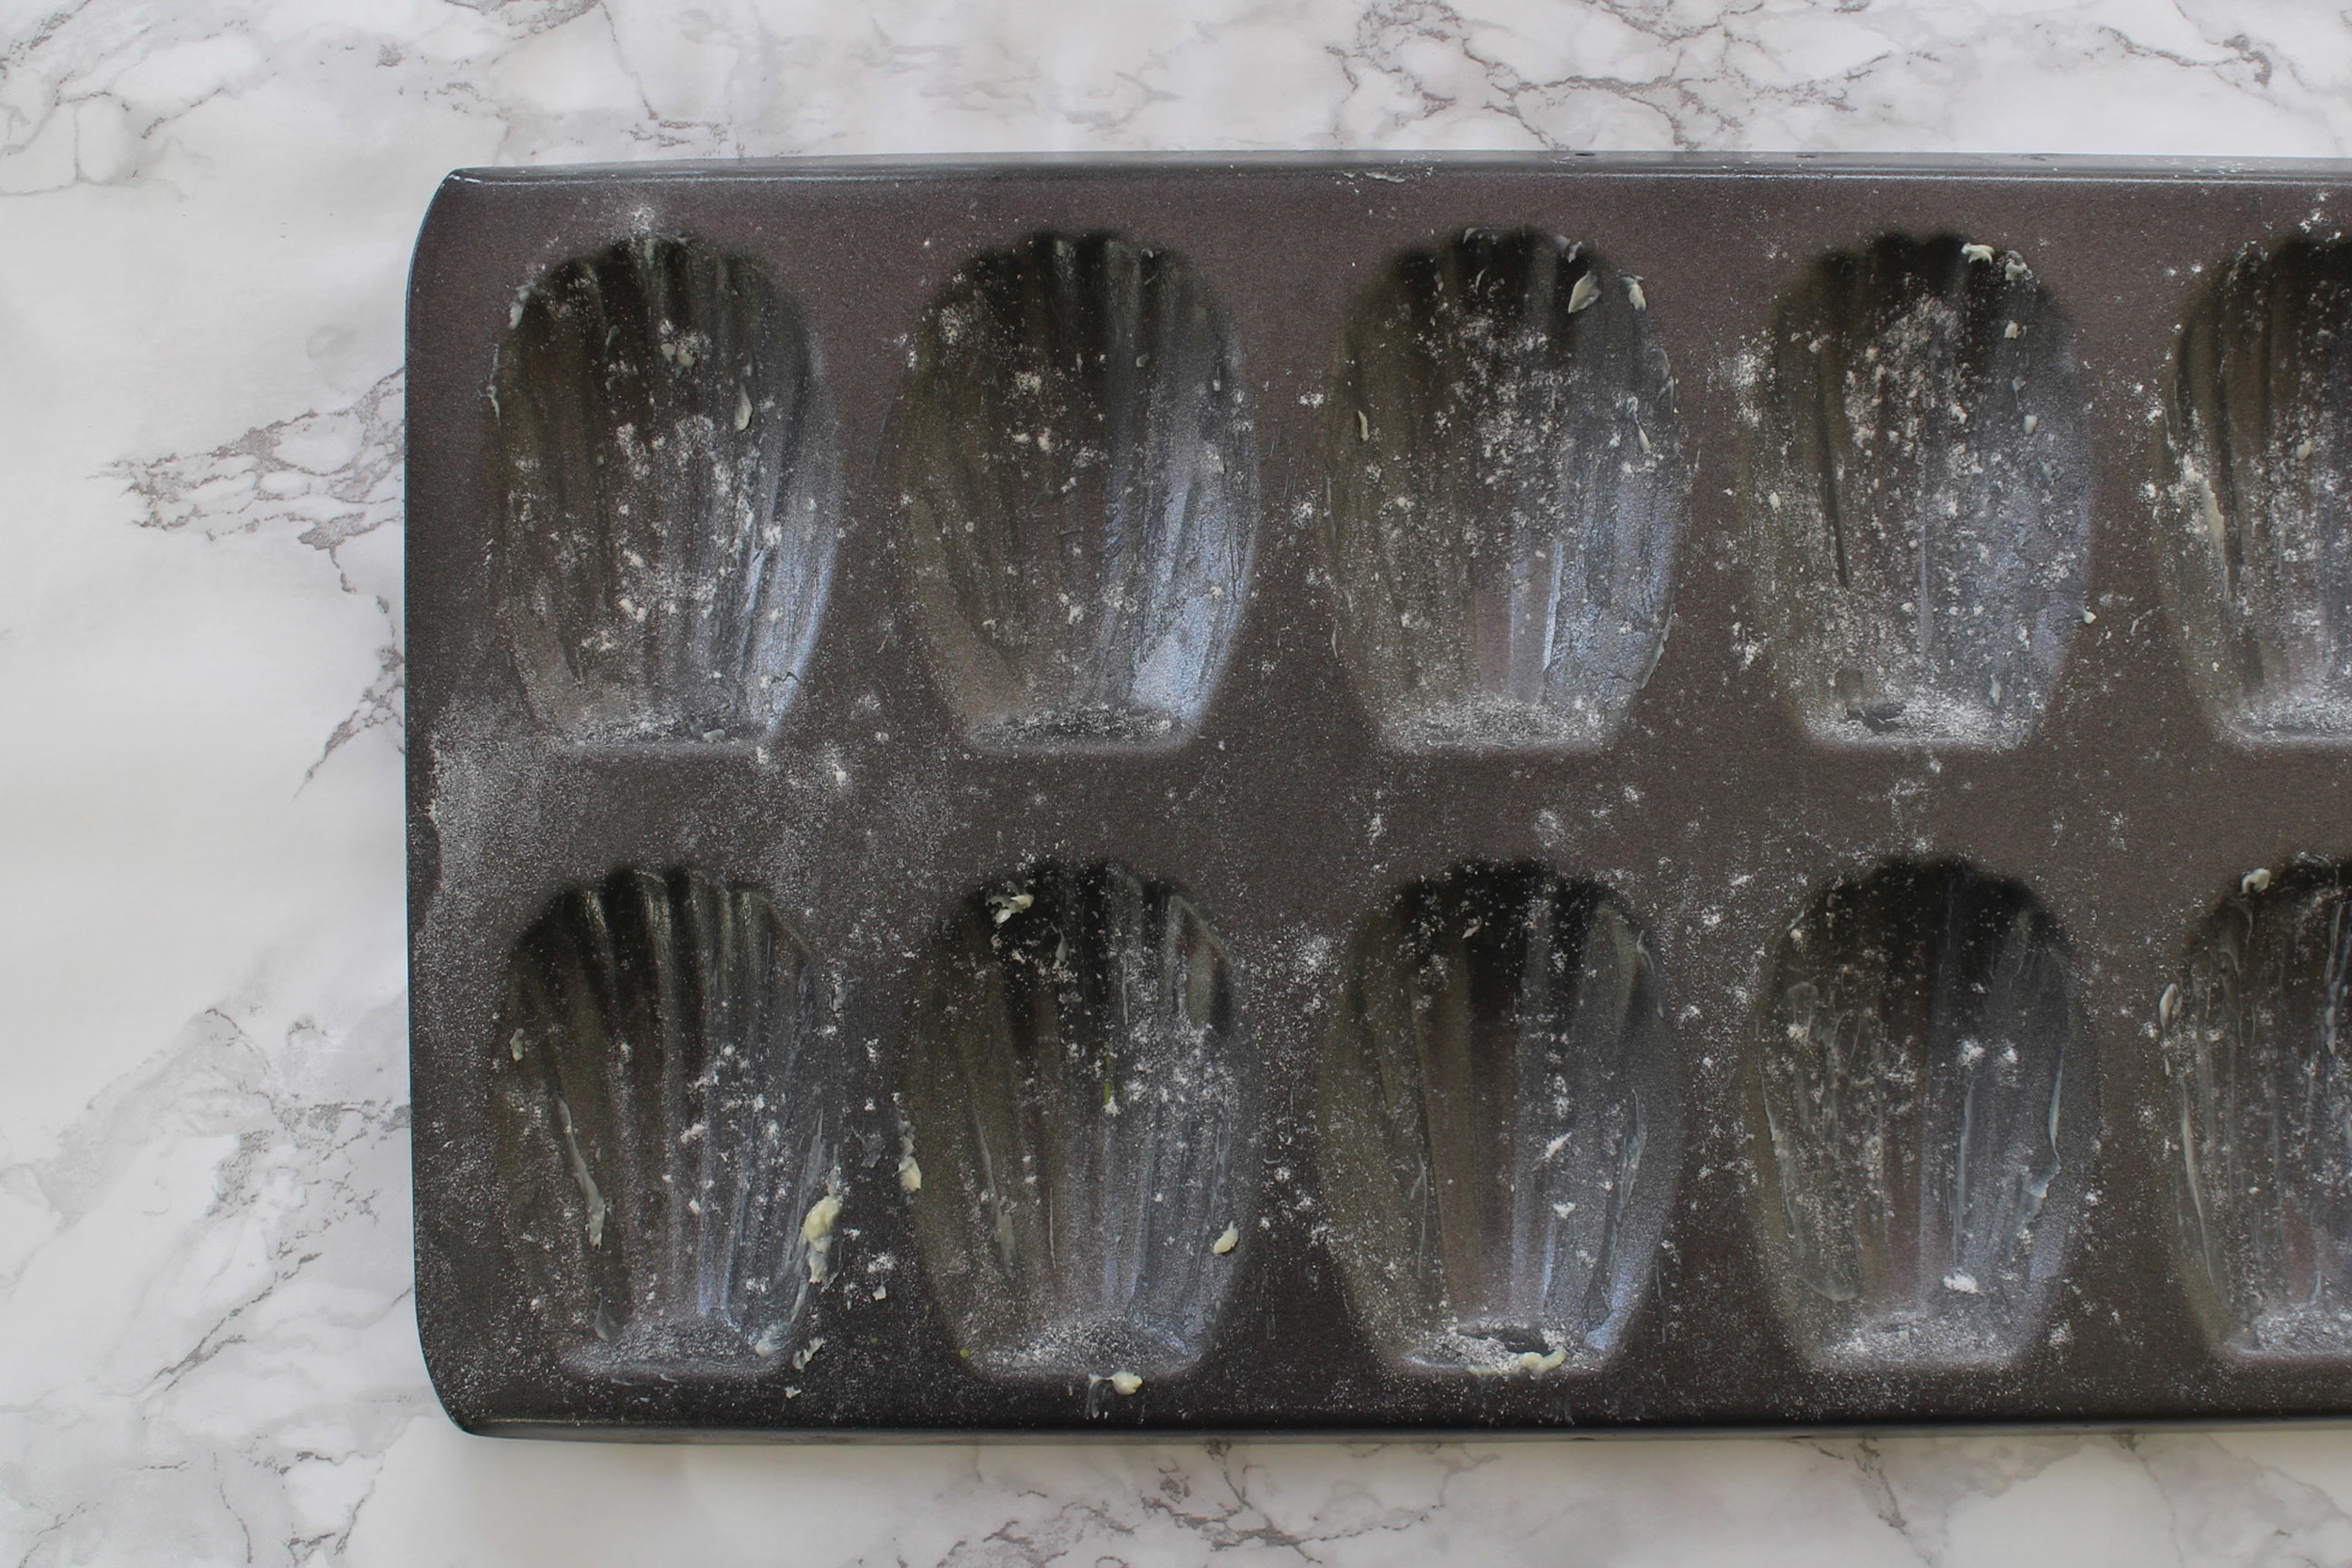
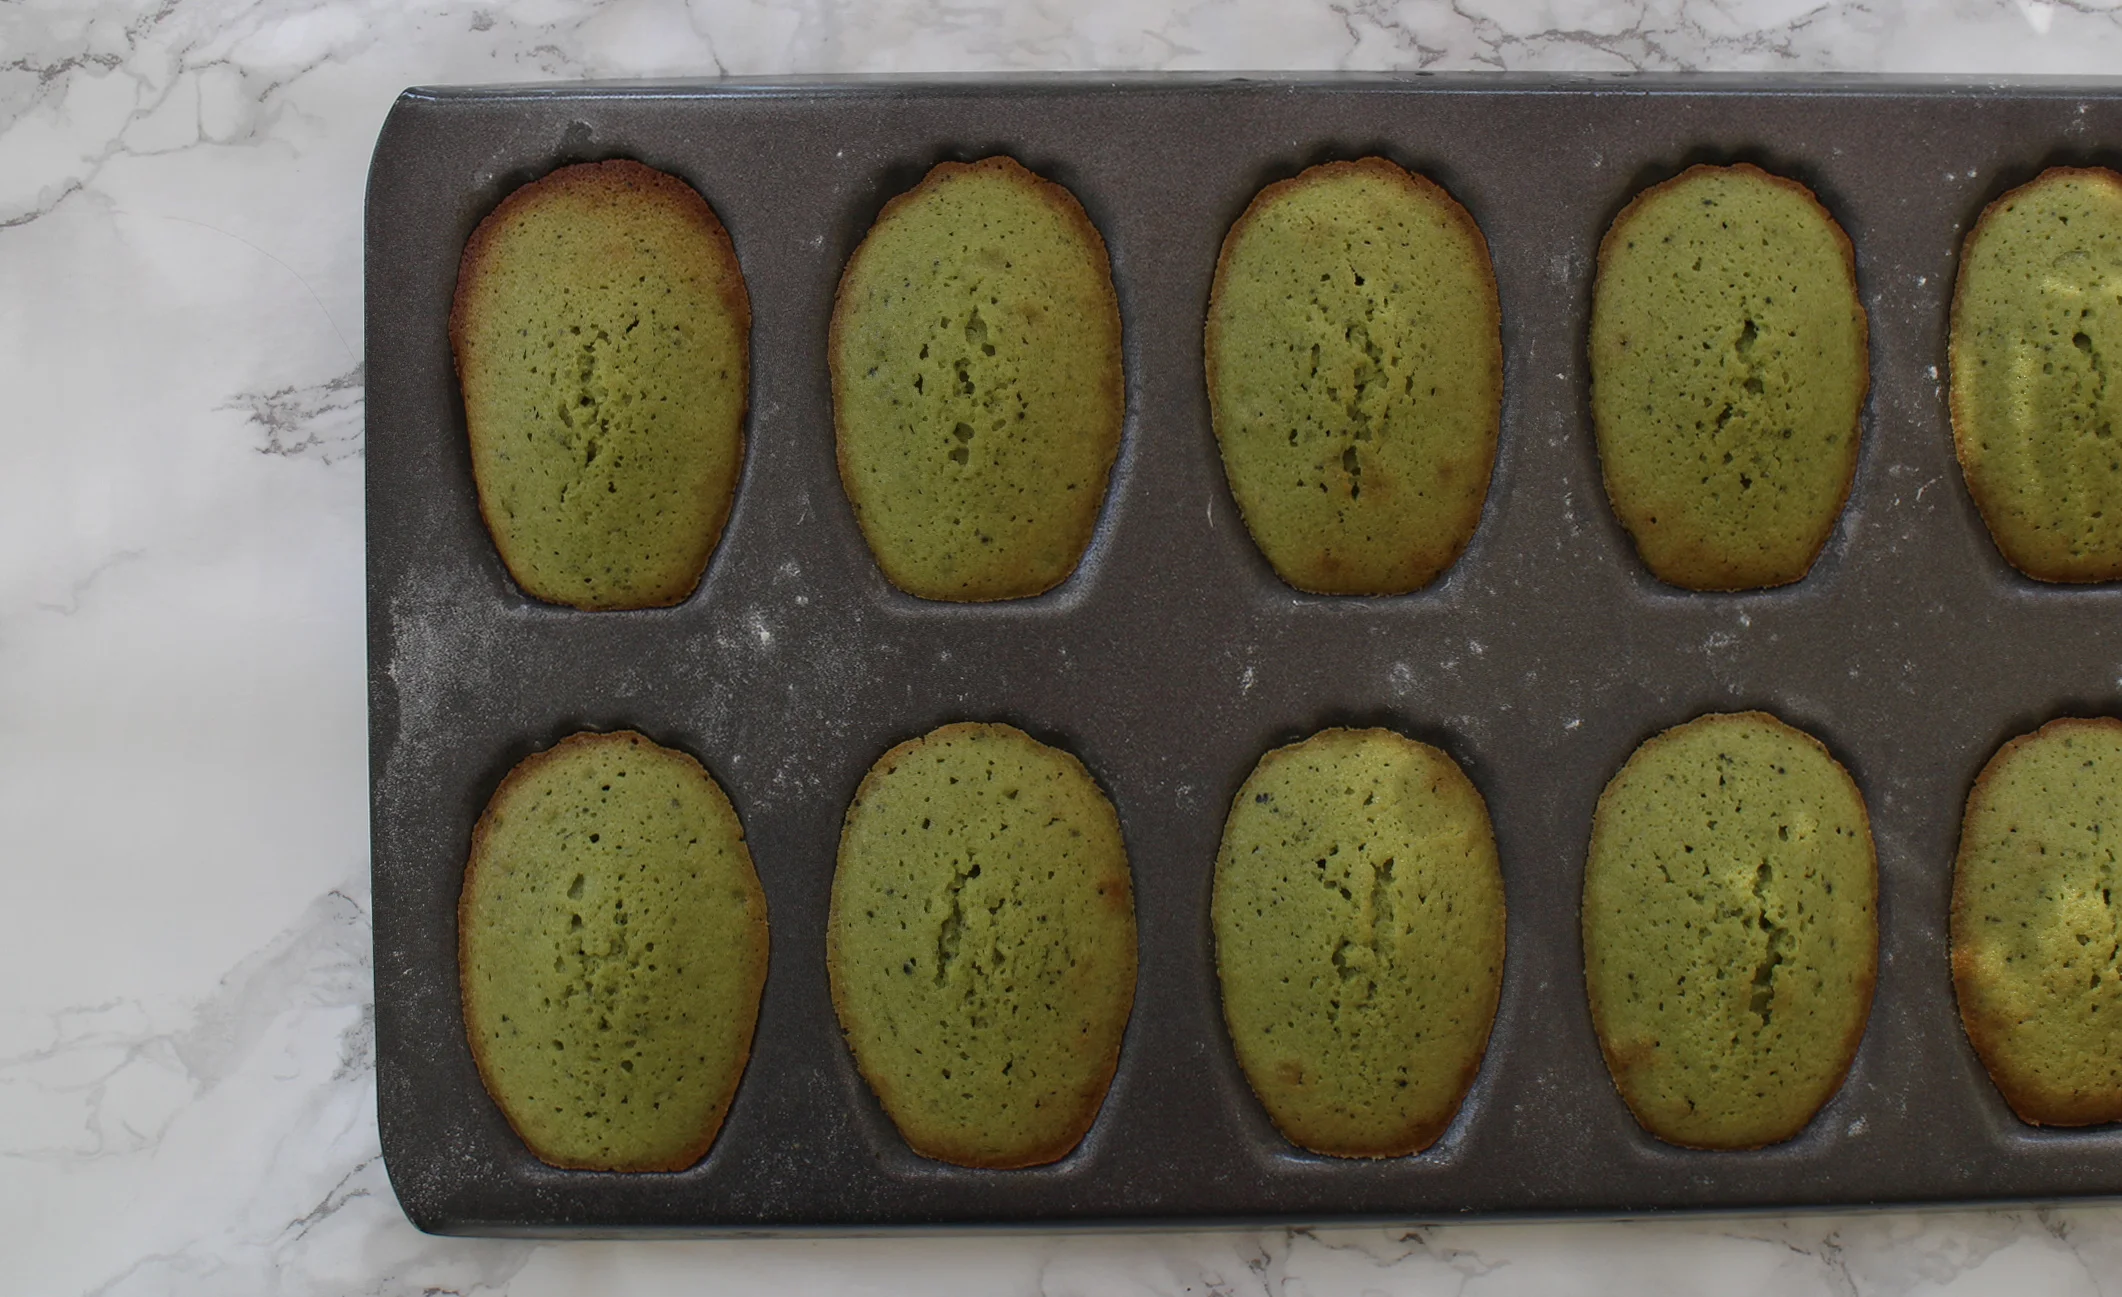
What I love most about these madeleines is the wonderful green colour and the zesty lime flavour. I'm not a huge matcha fan but I found that this recipe uses the tea to give it a wonderful colour and the flavour isn't too predominant. I only made a half batch to start off as wasn't sure this would be a popular flavour with my boys, but am now kicking myself that I didn't make the full 20!! The recipe is straightforward but with each stage it's important to keep lots of air in there to make them as light as possible when they're baked. And also to ensure that you grease the madeleine tins well. Laura suggests oiling them but I went with my usual method which is to butter and flour them.

I'm used to making madeleines with just egg whites, but this recipe uses whole eggs. The batter is refrigerated before it goes into the tins for baking. I usually put my batter into a piping bag and then refrigerate  it. Just a preference of mine, but I find it easy to store and then when the mixture sets more in the fridge, it's easier to pipe it into the madeleine tins. 

These madeleines are lovely as a standalone treat without the cream but the fluffy cream adds another dimension. The pepper gives a slightly spicy taste and I love the additional icing sugar that adds a touch of sweetness. Laura suggests adding these to taste and also the option of adding saké but I didn't have any to hand so decided to just flavour with the vanilla seeds, icing sugar and ground pepper. 

This would work really well for afternoon tea but I think if you were making them for morning coffee then losing the cream would work equally - but adding a proper pairing with a nice cup of green :)

Lime & Green Tea Madeleines with Vanilla & Black Pepper Cream Makes 10

Lime & Matcha Madeleine Ingredients

  • 65g BUTTER, MELTED & COOLED
  • 80G PLAIN FLOUR
  • 1/8 TSP SALT
  • 1/4 TSP BAKING POWDER
  • 1/2 TBSP MATCHA GREEN TEA POWDER
  • 1 LARGE EGG
  • 85G CASTER SUGAR
  • ZEST OF 1 LIME
  • 1 TBSP LIME JUICE (just less than the juice of a lime)

Vanilla & Black Pepper Cream Ingredients

  • 150ML DOUBLE CREAM
  • 1/2 POD VANILLA SEEDS
  • 1/2 TSP BLACK PEPPER (to taste)
  • 1 TBP ICING SUGAR (to taste)

Method

  1. Firstly, melt the butter and set aside to cool
  2. In a bowl, sieve the flour, salt, baking powder and matcha green tea powder
  3. Place the sugar and egg in a mixer and whisk until it's doubled in volume (around 3-5 minutes)
  4. Whisk the lime juice into the egg mixture
  5. Fold the flour into the mixture until just combined
  6. Fold in the butter and lime zest
  7. Put the mixture into a piping bag and refrigerate for an hour
  8. When you're ready to make the madeleines, preheat the oven to 180 degrees (fan)
  9. Butter and lightly flour the madeleine tins and then pipe the mixture into the cavities until each is 3/4 full
  10. Bake for around 12 minutes but watch them carefully as you're waiting for the edges to turn golden brown and don't want them to burn
  11. Remove from the oven and turn them out gently onto a cooling rack
  12. To make the cream, whisk the double cream to soft peaks being carefully not to over-beat the cream
  13. Fold in the vanilla seeds, pepper and icing sugar to taste (these are the quantities I used but feel free to flavour as you like)
  14. Enjoy the madeleines warm from the oven with a sprinkling of icing sugar and the cream cool from the fridge :)
In Everyday Cakes, Patisserie Tags Madeleines, Lime, Matcha
Comment

Sesame & Green Tea Pudding Spheres

April 26, 2015 Nicola King

I thought I'd squeeze in a small end of the week blog post about these gorgeous little Sesame Pudding Spheres that I've been playing with this weekend.  I found them a while ago on Dine X Design which is a beautiful website focusing on gorgeous recipes and design features, all photographed beautifully. Dine X Design feature a couple of variations on these with Green Matcha Tea Puddings and Frozen Pudding Treats too.

So of the three variations, I decided to make the Sesame Pudding Spheres which I then sprinkled with Matcha Tea and additional sesame seeds. The original recipe calls for black sesame paste and I couldn't get this locally, so used the greenish tahini paste from the local supermarket. I think the spheres look more striking in black against the green of the Matcha tea so it would be worth searching out the black sesame paste, especially if you're planning to make this for a dinner party. I really love the flavour of these spheres, mainly because they remind me of a lovely Coconut Sago pud we enjoyed last New Year's Eve at Mekong Baby in Auckland! This was a Thai fusion restaurant and I think these pudding spheres would work best at the end of this kind of meal. The coconut flavour really shines through and from the fridge, they're very light and refreshing, with the additional sesame seeds adding a touch more texture. And better still, they're completely dairy and gluten free so perfect if you're looking for a Free From dessert!

I'm inspired to take these flavours and work on recreating the Coconut Sago pudding we enjoyed and also have a go at the Dine X Design frozen spheres too. Super simple to make, these are definitely a fun little bite-sized pudding :)

Dairy-Free Green Tea Matcha Pudding (from Dine X Design)

Ingredients

  • 3 TBSP BLACK SESAME PASTE (I couldn't find this locally so used regular tahini paste)
  • 5 TSP CRUSHED BLACK SESAME SEEDS
  • ½ CUP CASTER SUGAR
  • 4 TSP AGAR AGAR
  • 2½ CUPS ALMOND MILK
  • 1 CUP COCONUT MILK

Method

  1. Put the sugar, sesame paste, seeds and almond milk in a medium saucepan and bring to the boil, stirring until all the contents dissolve
  2. Once boiling, add the agar agar and stir again until it's dissolved
  3. Add the coconut milk, stir and remove from heat
  4. Let the mixture sit for 10-15 minutes until cool
  5. Pour into a mould (the recipe recommends spherical ice cube trays but I used my metal cake ball pan and set them as half spheres, putting them together when they're fully set)
  6. Serve with a dusting of matcha green tea powder and sesame seeds
  7. They do tend to melt once out of the fridge so it's worth keeping them refrigerated until you plan to eat them!


In Free From, Puddings Tags Sesame, Matcha, Coconut, Gluten Free, Dairy Free
Comment

Matcha Macarons

February 27, 2015 Nicola King

We are a macaron loving household. When I make a trip into London, I always try to make time for a detour to Laduree or Paul to enjoy a few of their little beauties. But I also enjoy making them at home as we can choose our own colours and flavours and they are quite an investment in the shops, especially buying enough to satisfy four of us! I have been admiring Matcha Macarons for some time and have been loving the photos of them all over Pinterest so it's time to have a go at them myself. I recently bought myself some Matcha Tea from The Tea House in Covent Garden, although this organic tea will set you back nearly £20 for 30G so it's to be used sparingly!

I use the Italian Meringue method to make my macarons as it's been the most reliable way for me. You do need a sugar thermometer but it's a very straightforward and for me, foolproof way of making the batter. I looked at various recipes on the web and decided to experiment with my own quantities of Matcha as it's quite an unusual flavour. I added a half teaspoon of tea to the batter but the flavour has not come through very strongly so I think it could be upped a little next time. I filled them with a traditional buttercream and added a half tablespoon to this and this flavour strength is about right for my taste buds.

When I'd made them I decided to add a little sparkle so sprayed them with gold lustre, but when this ran out mid-decorating, I then brushed Sugarflair Edible Tint in gold over one shell of each macaron and both of these worked really well. For a touch of glamour, I also added a little edible gold leaf. I always think macarons make a lovely gift and once you've found a recipe that works for you, they're quite simple to make and very tasty to eat. And there's lots of experimenting with colours and favours. The perfect little Parisienne treat :)

Matcha Macarons Makes 12 (24 shells sandwiched together)

Ingredients

Macaron Batter

  • 100G CASTER SUGAR
  • 37ML WATER
  • 80G EGG WHITES (I USE TWO CHICKS LIQUID EGG WHITES THAT YOU CAN BUY IN THE SUPERMARKET)
  • 100G GROUND ALMONDS
  • 100G ICING SUGAR
  • ½ TSP MATCHA TEA POWDER

Matcha Buttercream 

  • 115G BUTTER
  • 125G ICING SUGAR (SIFTED)
  • 1 TBSP MILK
  •  1 TBSP MATCHA TEA

Method

  1. Line two baking street with baking paper - if you're worried about the consistency of your macaron circles when you come to pipe them, you can draw little circles onto the paper as a guide. My macarons are around 5cm in diameter.
  2. Put 40g of the egg whites into a mixer with the balloon whisk.
  3. Put the caster sugar and water into a saucepan and heat without stirring to 95 degrees and then start the mixer on a low speed.
  4. When the sugar syrup temperature reaches 105 degrees, increase the speed of the mixer and beat the egg whites to a stiff peak.
  5. When the sugar mixture reaches 114 degrees, remove from the heat and pour the syrup in a slow, steady stream down the side of the bowl (not into the middle as you don't want to remove all the air) with the mixer still running.
  6. Continue beating for 5 to 10 minutes until the outside of the bowl cools down.
  7. Whilst beating the meringue in the mixer, prepare the almond paste.
  8. Mix together the icing sugar, ground almonds and ½ tsp of matcha tea powder until they're well mixed. You can sieve them if you want to give a smoother finish on your macarons.
  9. Add the remaining egg whites (40g) and mix until you form a paste. You can also add food colouring at this point - I added Sugarflair Spectral Paste Concentrate in green - just add a little to start with as you can always make the colour stronger, but you can't take it away once added!
  10. Then once your paste is ready, add a third of the meringue and mix thoroughly - don't worry about knocking the air out at this stage as this is intended to loosen the paste a little before adding the rest of the meringue.
  11. Add the remaining meringue, folding it in until it's mixed but be careful not to over-mix at this stage as you want to keep the air in it.
  12. Fill a piping bag with a circle nozzle (number 1A works well for this) and pipe out small circles into the baking paper. Sometime you may find that your macarons have a little peak on top but this flattens out during the next stage.
  13. I generally leave my macarons for at least an hour to form a thin crust on top - you should be able to lightly touch the macaron with your finger and it springs back without leaving a fingerprint.
  14. When you're ready to bake them, pre-heat your oven to 150 degrees and bake them for around 14 minutes.
  15. After you take them out of the oven, slide them off the baking tray onto a cool counter and then pop them off the baking paper and let them cool down.
  16. Make your buttercream by beating the butter until it's light and fluffy.
  17. Then add the icing sugar and matcha tea and mix until they're fully incorporated.
  18. Finally add the milk and beat until it's smooth.
  19. When you're ready to fill them, fill a small piping bag with the buttercream and a regular tip (I use the same one as to make the macarons but you can be creative here and use a star tip or other nozzle).
  20. Pipe a small amount of buttercream into the middle of each macaron and then sandwich them together.
  21. Your macarons are now ready to eat - some say they're better the next day - if they hang around that long! 
In Patisserie, Macarons Tags Matcha, Macarons
Comment

To subscribe, please enter your email address:

Delivered by FeedBurner

Yay for the weekend!! If you saw how I made pineapple flowers earlier this week, here they are adorning my very first Hummingbird cake. I am totally in love with them! I also added a few @edible_flowers to complement them and this makes the perfect w
I was so grateful to be #gifted some beautiful @cotswoldflour flour recently with a challenge to make something from my #bakingbucketlist and so I set about making a Nutella babka and scrolls with them. I’ve had a mixed love affair with bread m
I found the cutest miniature pineapple in the local petrol station co-op so decided to make these roasted pineapple flowers. I think they’re so pretty and remind me of lovely sunflowers. I thought they’d go well with a Hummingbird cake so
We had great fun baking this Malteser Millionaire’s Shortbread which is absolutely delicious! This was something the boys wanted to bake - who can resist a delicious shortbread base, topped with gooey caramel and then a final layer of swirled m
As the rain and clouds returned to our skies this weekend, we’ve been looking for comforting lockdown treats. These Blackberry & Star Anise Friands, dripping with sticky blackberry juice icing are the perfect choice 💗 The recipe is from Sw
You might have seen from my Stories this weekend that I made cinnamon buns. I don’t have the best track record with bread but I’m overcoming my inner fear! These buns were so delicious. It was an amalgamation of a few recipes but the base
  • Serendipity Bakes
    Coconut & Raspberry Friand Muffins
    May 29, 2019, 9:38 PM
  • Serendipity Bakes
    Thank you for sharing my photo of your delicious recipe 😋 @rkhooks Happy Sunday! https://t.co/niKamgfjvt
    Mar 3, 2019, 2:38 PM
  • Serendipity Bakes
    RT @BiscuiteersLtd: Our friends at @thewhitecompany asked us to design something special to celebrate their New York stores first birth… https://t.co/kTsMH57wRv
    Jun 28, 2018, 11:09 AM

Enter your email address:

Delivered by FeedBurner

Powered by Squarespace

Nicola King at Serendipity Bakes Follow my blog with Bloglovin Follow